We pulled together this list of our 80 favorite PowerPoint keyboard shortcuts together because…
Creating a PowerPoint presentation is no small task!
It requires juggling all sorts of PowerPoint stuff like charts, tables, pictures, object formatting, text and shapes just to create your slides in the first place. Then there is the delivery of the presentation itself.
On top of that, companies, bosses and clients want everything done yesterday. For you as an employee (or contractor) that means expectations are rising. Getting more done in less time. That’s where PowerPoint Keyboard Shortcuts come to your rescue.
With a little bit of practice, these PowerPoint shortcuts will seriously cut down your build time, make your slides look more polished and professional and get you to Happy Hour.
The Benefits of Using Keyboard Shortcuts
One of the main reasons to learn your keyboard shortcuts is they eliminate mental stress and anxiety.
Studies show that one of the main sources of modern stress and anxiety in the workplace is what researchers call Cognitive Load. The point being that your brain can only make so many decisions a day before it basically shuts down.
That’s why high-profile leaders like Steve Jobs, Barack Obama, and Superman focus on wearing one or two outfits every day. It cuts down on the decisions they need to make, allowing them to focus on higher priority tasks.
How do keyboard shortcuts help you out here? They eliminate a bunch of micro-decisions and mental hoops your brain otherwise has to process to get a task done.
So instead of playing hide-n-seek in the ribbon for your command – let me see…where was that command again? – your fingers just hit the keys and get the task done. Decreasing your cognitive load.
In that sense, your keyboard shortcuts not only decrease your cognitive load, freeing up your mind for higher priority tasks, they also blast through your otherwise repetitive and annoying tasks for you, getting you to Happy Hour.
To see a list of our favorite Windows 10 keyboard shortcuts, read our guide here.
3 Tips for Mastering Your Shortcuts
If learning your PowerPoint shortcuts was easy, everyone would already have their black belt in PowerPoint, but they don’t. So the very first rule is simply – COMMIT.
Here are a few other tips to make learning your PowerPoint shortcuts as easy as possible:
A. Set learning goals
Define your goals. If there are 100 keyboard shortcuts you want to learn and you can only learn 2 or 3 a day, break it up. Don’t worry about the 100, just worry about the 2 or 3 you want to learn that day (or that week).
B. Put your shortcuts to use
When you first learn a new keyboard shortcut, the most important thing is to start using it every single time you want to complete that task. A common learning mistake is not consistently using the shortcut right off the bat because it’s not comfortable.
Disclaimer: When you first start learning your keyboard shortcuts (for whichever program in which you are working), you might not feel any faster, or you might even feel slower. That’s because it’s new and uncomfortable.
But trust me, the fastest people in PowerPoint use shortcuts. And that can be you. Don’t give up.
C. Not all keyboard shortcuts are worth learning
Just because a shortcut exists doesn’t mean you should learn it.
There are hundreds of keyboard shortcuts and thousands of commands you can set up as shortcuts in PowerPoint that you’ll never need to use.
That’s why I recommend that instead worrying about all of the available shortcuts, just focus on learning the keyboard shortcuts around the core activities you perform every single day.
PowerPoint Slide Shortcuts
1. Display the All Slides dialog box (slideshow mode)

After starting a slideshow, you can open the All Slides dialog box by hitting CTRL + S on your keyboard.
This dialog box allows you to visually see all the slides within your presentation and quickly jump around between them.
This is handy when you want to quickly move forwards or backwards within your presentation and you don’t know what the slide number is.
2. Go to slide number (in slideshow mode)

Slide Number + Enter Key
When you give a presentation, your topic never goes in the order you planned. There are some situations when you require going to nonadjacent slides in your presentation.
For instance, say you are on slide 50, and your audience puts a question that requires you to jump to slide 20. Pressing Page Up 30 times doesn’t seem professional.
To easily jump to the 20th slide in your presentation, after you start your slideshow, simply hit the slide number on your keyboard and then hit Enter.
Note: This only works while after you start Slideshow (F5) or start Presenter View (Shift + F5). This shortcut will not work in the normal slide editing view of your presentation.
3. Display a black or white slide (in slideshow mode)
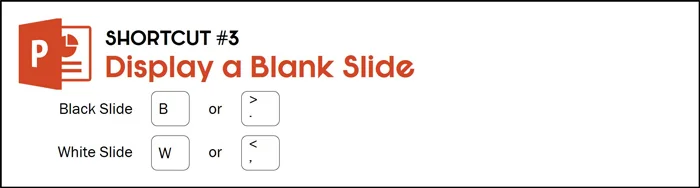
For a black slide, press B or . (period)
For a white slide, press W or , (comma)
Sometimes you may need to pause your presentation for a lunch break or to answer a question unrelated to your topic.
In these situations, B and W shortcut keys to display a blank screen. Pressing B or W second time will pick up the show where you left it.
4. Select all slides

You can select the slides all at once if your presentation is in slide sorter view simply hit CTRL + A.
Remember, this PowerPoint shortcut will work only if your presentation is in Slide Sorter View. To learn more about the Select All shortcuts throughout the Microsoft Office Suite, see our guide here.
5. Duplicate active slides

To add the copy of the current slide in your presentation, press CTRL + SHIFT + D.
6. Start Slideshow (from beginning)

When you are ready to start your Slide Show from the very first slide in your presentation, in all versions of PowerPoint, simply hit F5 on your keyboard.
To learn all the different ways to start a PowerPoint slideshow, see our guide here.
7. Start Slideshow (from current slide)

To view your presentation from your current slide (all versions of PowerPoint) in Slide Show Mode, hit SHIFT + F5.
8. Go to the previous / next slide
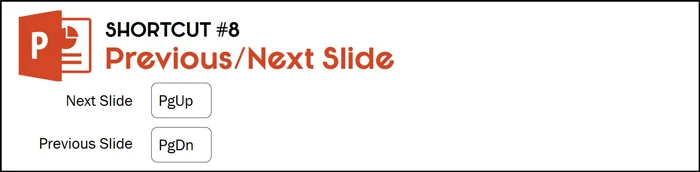
To move to the next slide in your presentation, hit Page Down.
To move to the previous slide in your presentation, hit Page Up.
PowerPoint Pointer Shortcuts
9. Using the built-in laser pointer

While in Slide Show Mode, hold down the CTRL keyon your keyboard and click and drag with your mouse.
Holding the CTRL key and dragging around with your mouse turns on the laser pointer to draw your audiences’ attention to different aspects of your slide.
Note: To learn how to change the color of your laser pointer shortcut in PowerPoint (Between red, green and blue), read our guide here.
10. Writing on your slide with a pen (inking)

After you start your Slide Show, you can write on your slides with a pen by hitting CTRL + P and use your mouse (or pen if you have a touch screen) to write and/or draw on your slides.
Hitting CTRL + P a second time turns the Pen off..
11. Writing on your slide with a highlighter (inking)

After starting a Slideshow, to write on your slides with your highlight, hit CTRL + I and use your mouse (or pen if you have a touch screen) to highlight and draw on your slides.
12. Hide and erase ink onscreen (inking)
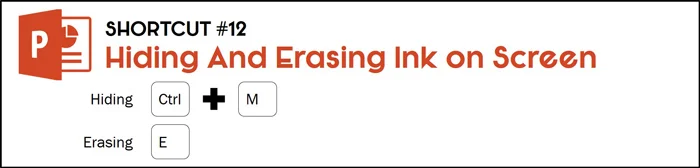
While in slideshow mode, after using the pen or highlight shortcuts to add into your slides in Slide Show mode you can either:
Hit CTRL + M to hide the ink. And if you do so a second time, you will make the ink re-appear.
Press E at any time to erase all of the ink on that slide.
PowerPoint Shortcut Tip
Be careful when erasing the Ink on screen as there is no way to un-erase that ink. If you typically want to save the ink on yours, memorize the CTRL + M shortcut instead as it merely hides the ink.
13. Hide the pointer and navigation buttons
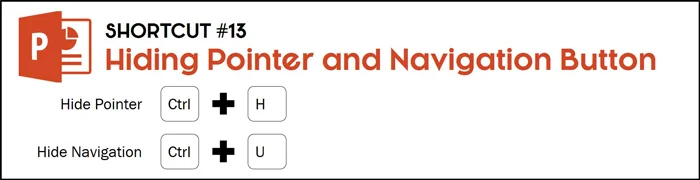
To hide your pointer and navigation immediately, hit CTRL + H.
To hide your pointer and navigation after 15 seconds, hit CTRL + U.
Pointers and navigation button could be annoying to the audience. So it’s important to hide while giving presentation.
PowerPoint Menu Shortcuts
14. Display the Shortcuts menu

SHIFT + F10
After you start your Slide Show, Shift + F10 is the equivalent of right-clicking on the screen, displaying the different presentations options available to you.
15. Display the Slideshow Help shortcuts

F1
While in Slideshow mode, this command display all the different slide show shortcuts you can use to quickly navigate your presentation. If you ever forget your shortcut, just hit F1.
16. Display the taskbar

While in Slide Show mode, you can display the task bar at the bottom of your screen by hitting CTRL + T.
Displaying your taskbar is a fast and easy way to navigate between different documents and files on your computer without closing out of your presentation.
PowerPoint Hyperlink Shortcuts
17. Insert a hyperlink

Select the text or object on your slide that you want to add the hyperlink too, then hit CTRL + K to open the Insert Hyperlink dialog box.
For details on how to use hyperlinks in PowerPoint to create interactive presentations, click here.
Note: Your hyperlinks and zoom slides will properly carry over when you convert your presentation to the PDF file format. See details here.
18. Select a hyperlink

While in Slide show mode, to go to the first or next hyperlink on a slide hit the TAB key.
While in Slide show mode, to go to the last or previous hyperlink on a slide, hit SHIFT + TAB.
19. Open a hyperlink

Once you’ve navigate to a hyperlink (using the above keyboard hot keys) you can activate it by hitting the ENTER key.
PowerPoint Font & Paragraph Shortcuts
20. Align a paragraph
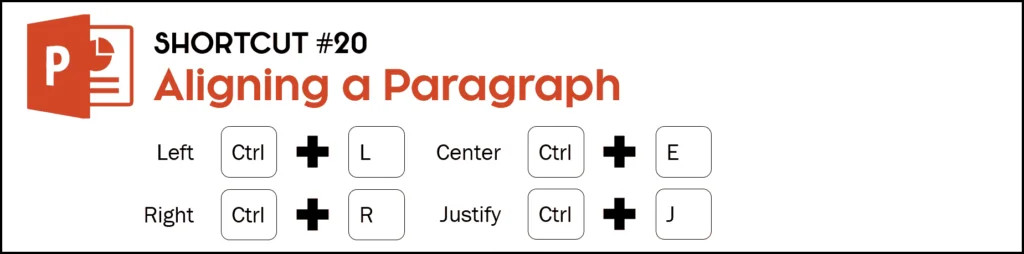
First, select the your text or paragraphs, then hit:
Left alignment, hit CTRL + L
Right alignment, hit CTRL + R
Center alignment, hit CTRL + E
Justify alignment, hit CTRL + J
21. Jump to the end / beginning of a line

Hit the END key move to the end of a line.
Hit the HOME key to move the beginning of a line.
22. Increase or decrease text list levels
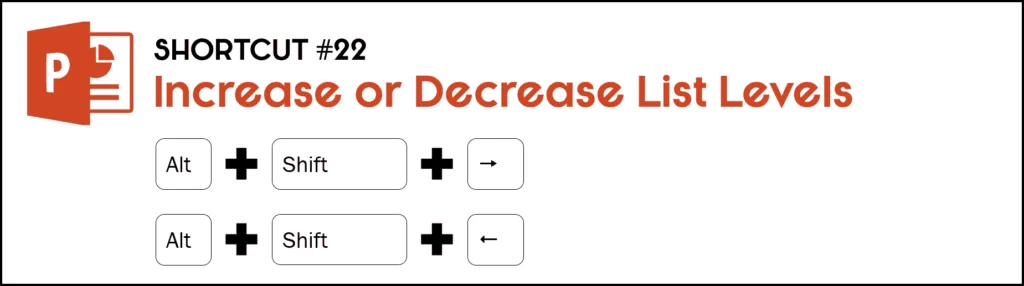
To promote a paragraph, hit ALT + SHIFT + Left Arrow.
To demote a paragraph, hit ALT + SHIFT + Right Arrow.
These List Level Shortcuts are extremely effective when filling in company templates as it properly uses the bullet spacing set on your Slide Master. This is entirely different than the Promote and Demote paragraph shortcuts.
To see how to use these List Level Shortcuts to properly fill in a company PowerPoint template (and see how they are COMPLETELY different than the TAB and SHIFT + TAB shortcuts) see the short YouTube video below.
23. Promote and demote paragraphs

To promote a paragraph, hit the TAB key.
To demote a paragraph, hit SHIFT + TAB.
24. Move selected paragraphs
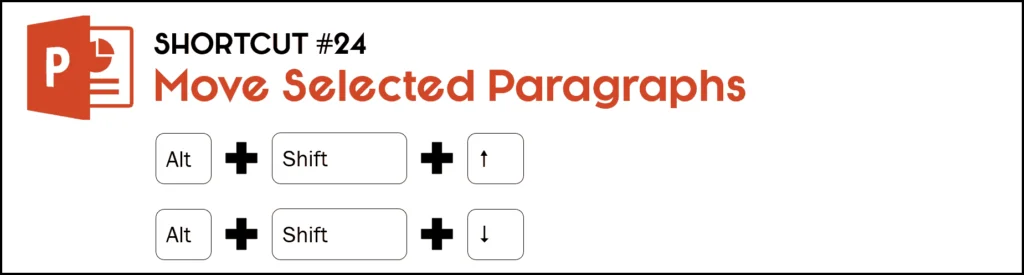
To move selected paragraphs up, hit ALT + SHIFT + Up Arrow.
To move selected paragraphs down, hit ALT + SHIFT + Down Arrow.
25. Select all text

When within a shape or text box (the blinking cursor), hit CTRL + A to select all text.
Note: There are a wide variety of ways you can use the Select All shortcut in Word, Excel, and PowerPoint. To learn all about it, read our guide here.
26. Delete text (towards the left)

To delete one character to the left, hit the BACKSPACE key.
To delete an entire word to the left, hit CTRL + BACKSPACE
Note: Instead of deleting text, you can instead create the strikethrough text effect using your keyboard shortcuts. To expand your knowledge and learn the strikethrough shortcuts for Word, Excel, and PowerPoint, read our guide here.
27. Delete text (towards the right)

To delete one character to the right, hit the DELETE key.
To delete one word to the right, hit CTRL + DELETE.
28. Change the font size
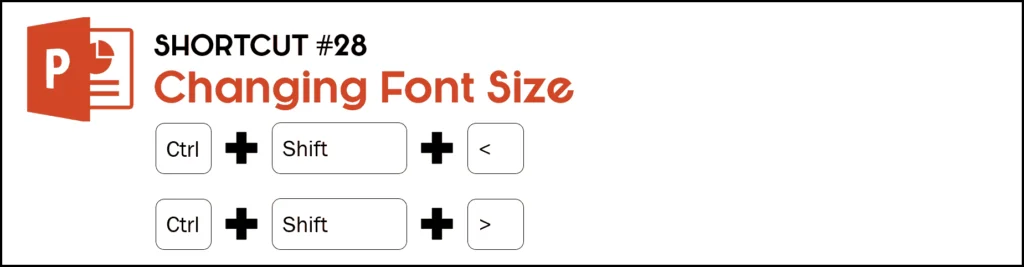
To increase the font size, hit CTRL + SHIFT + , (comma).
To decrease the font size, hit CTRL + SHIFT + . (period).
29. Open the Font dialog box

If you want to open the font dialogue box to performing font or font size changing operations, do the following:
To open font dialogue box to change formatting of the characters, hit CTRL + T.
30. Change case shortcut (uppercase, lowercase, etc.)

While making a presentation, you frequently need to change your text between uppercase, lowercase, sentence case, etc. That is why knowing the SHIFT + F3 shortcut is such a timesaver in PowerPoint.
31. Make text subscript / superscript
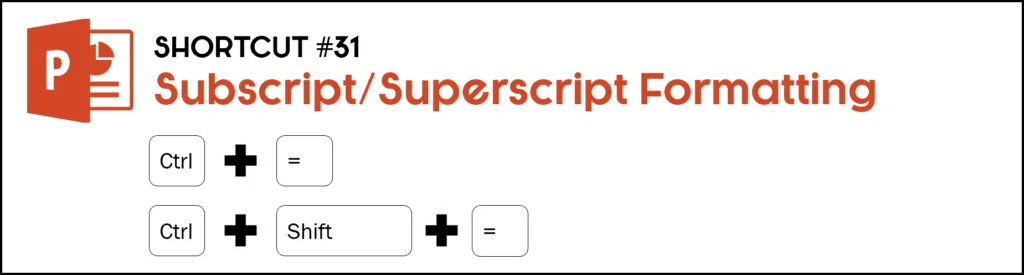
Hit CTRL + = (equal) too apply subscript formatting with automatic spacing.
Hit CTRL + SHIFT + = (equal) to apply superscript formatting with automatic spacing.
32. Make text bold

Select the text, and hit CTRL + B to make it bold.
33. Make text italic

Select the text, and hit CTRL + I to make text italic.
34. Make text underlined

Select the text, and hit CTRL + U to give it an underline.
35. Open the spell check engine

To open up the spell check engine to double-check your spelling and grammar, hit the F7 function key.
36. Launch the thesaurus

To open thesaurus, hit SHIFT + F7.
PowerPoint Text & Object Shortcuts
37. Select all objects on a slide

To select all the objects on a slide, with the slide space active (click somewhere on the slide to be sure), hit CTRL + A.
38. Format Painter shortcut #1 of 2: Pick Up Style

To copy the formatting of text or of an object, select it and then hit CTRL + SHIFT + C.
39. Format Painter Shortcut #2 of 2: Apply Style

To paste the formatting of text or of an object onto another object, hit CTRL + SHIFT + V.
Format Painter Shortcuts in Action
The Format Painter is one of the fastest ways to pick up and apply formatting styles throughout your presentation.
And what is so great about these specific shortcuts is that they are SUPER easy to learn. That’s because they mimic the standard CTRL + C to Copy and CTRL + V to Paste shortcuts. All you need to do is add the Shift key:
- Ctrl + Shift + C to copy your formatting
- Ctrl + Shift + V to paste your formatting
40. Open the Paste Special dialog box

CTRL + ALT + V
The Paste Special shortcut gives you a variety of pictures format paste options for your content. To use the shortcut first CTRL + C to copy something in PowerPoint, then hit CTRL + ALT + V to open up the Paste Special options.
PowerPoint Tip
The Paste Special dialog box is where you can find the WMF and EFM file formats for breaking apart your copied PowerPoint Tables and PowerPoint charts.
41. Group objects on a slide

To group selected objects on a slide, hit CTRL + G.
42. Ungroup objects

To ungroup objects (including grouped objects, SmartArt graphics, EMF and WMF objects), select them and hit CTRL + SHIFT + G.
To learn other cool things you can group and ungroup in PowerPoint, see our guide here.
43. Regroup ungrouped objects

To reform an ungrouped set of objects, simply select a single object from the previous group, hit CTRL + SHIFT + J.
44. Rotate objects or text boxes
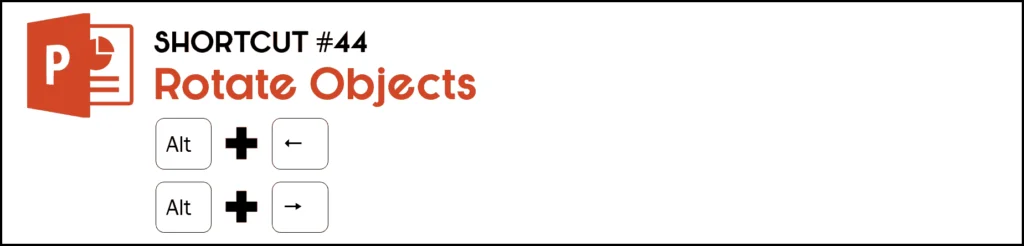
To rotate an object by 15° to the right, with an object selected, simply hit ALT + Right arrow.
To rotate an object by 15° to the left, hit ALT + Left arrow.
PowerPoint Table Shortcuts
45. Moving the cursor from cell to cell

To move to the next cell, hit the TAB key.
To move to the previous cell, hit SHIFT + TAB.
46. Moving the cursor from row to row

To move to the next row, hit the Up arrow key.
To move to the previous row, hit the Down arrow key.
47. Add a new row (to the bottom of the table)

To add a new row at the bottom of the table, move your cursor to somewhere on the bottom row of your table and hit the TAB key.
48. Add an indent within a table cell
 To insert a text indent in a table cell (like you would with the TAB key in a shape or text box), move to that cell and hit
CTRL + TAB
.
To insert a text indent in a table cell (like you would with the TAB key in a shape or text box), move to that cell and hit
CTRL + TAB
.
PowerPoint Charting Shortcuts
49. Format the selected chart element

With a charting element selected (such as the data labels or columns), hit CTRL + F1 to jump to the formatting options for that specific element.
This charting shortcut works in both PowerPoint and Excel, and is one of the fastest ways to drill down to the specific formatting options for your charts.
50. Moving a chart (nudging it) with your keyboard

To move your chart like any other object, simply hold the CTRL key down, and then click the chart with your mouse.
Doing so selects your chart like any other object, allowing you to use the Arrow keys to move it around on your slide.
PowerPoint View Shortcuts
51. Switch between the Outline View and the Normal View

Hit CTRL + SHIFT + TAB to switch between the Outline and Normal View in PowerPoint.
52. Switch between the Slide Master View and the Normal View

Holding the SHIFT key and clicking on the Normal View icon in the lower right-hand corner of your screen will take you to the Slide Master View of your presentation.
Hit the shortcut again to come back to the Normal View.
53. Switch between the Handout Master View and the Normal View

Holding the SHIFT key and clicking on the Slide Sorter View icon in the lower right-hand corner of your screen will take you to the Handouts Master View of your presentation, where you can customize the handouts for your presentation.
54. Open the Set Up Slide Show dialog box

Holding the SHIFT key and clicking on the Reading View icon in the lower right-hand corner of your screen will open up the Set Up Slide Show dialog box, where you can choose to show your presentation in a resizable window, run custom slide shows, etc.
55. Close the Thumbnail View

Holding the CTRL and SHIFT keys, and clicking on the Normal View icon in the lower right-hand corner of your screen will close the Thumbnail View and give you more work space for your presentation.
56. Open the Outline View in full screen

Holding the CTRL and SHIFT keys, and clicking on the Slide Sorter View icon in the lower right-hand corner of your screen will open up the Outline View in full screen.
57. Run a mini presentation

In Microsoft PowerPoint 2007 and 2010, hold down the CTRL key, and in 2013 and 2016 hold the ALT key, and then select the Slide Show View icon in the lower right-hand of your screen to run a mini presentation in the upper left-hand corner of your deck.
Hit ESCAPE to move to that slide.
58. Switch between open presentation

If you have multiple presentations open on your device, you can switch among them by hitting CTRL + F6.
59. Switch between open PowerPoint windows

To switch between your active windows, hit CTRL + TAB.
60. View all active windows

To see all open and active windows on your computer, hit WINDOWS + TAB.
61. Cycle through content placeholders

To cycle through the content placeholders on your slide (built on the Slide Master), first click into a placeholder and then hit CTRL + ENTER.
Once you have cycled through your content placeholders, hitting CTRL + ENTER again creates a new blank slide, based on the slide layout you were just previously on.
62. Insert new slide shortcut

CTRL + M
This shortcut adds a new blank slide to your presentation, based on the slide layout you were just on.
Note: After hitting CTRL + M to insert a new slide, you can immediately start typing the title of your new slide. This makes creating a quick draft outline of your presentation easy.
To see how to do this using the Outline View in PowerPoint, read our guide here.
62B. New Slide Shortcut (Optional)

Ctrl + Enter is a unique little shortcut.
While working in the normal PowerPoint view, hitting CTRL+ENTER cycles through the content placeholders in your layout allowing you to quickly type text or add content.
Once it cycles through all the available placeholders in your layout, hitting the shortcut again adds a new slide to your presentation.
So, the way the CTRL+ENTER shortcut is different than the CTRL+M shortcut, is that before it creates a new blank slide, it first cycles through all the content placeholders on your slide.
Instead of ending up with a new blank slide, you instead create a duplicate of the slide you were working on (making it easy to save your work).
What type of new slide is added? When using the New Slide shortcuts in PowerPoint, the slide layout that is inserted is based on the slide layout you were just on when you used the shortcut.
For example: If you are on the Section Header layout, using the New Slide shortcuts inserts a new blank Section Header layout. If you are on a Comparison layout, using either of the New Slide shortcuts inserts a blank Comparison layout.
The only time this rule doesn’t hold true, is if you use these shortcuts while on the Title slide layout. If you are on the Title Slide layout (for your template), instead of inserting a new Title Slide, the next layout in your slide master will be inserted (most likely a Title and Placeholder layout).
This makes sense too, right?
In a normal presentation you will only have one title slide. So, the New Slide shortcuts are smart enough not to insert a second title slide layout, and instead take you to your first content slide layout.
To expand your knowledge and learn more about how Ctrl+M and Ctrl+Enter are different, read our guide here.
63. Open the Save As dialog box

Hit the F12 function key to save your presentation with a different name, in a different location on your computer, or in a different file format.
Save As Shortcut Pro Tip
The Save As shortcut is the secret to quickly converting your presentation into the PDF file format as we discuss here, or turn your presentation into a picture presentation as we discuss here.
64. Open the Save As options in the File area

Hitting CTRL + F12 will immediately open the Save As dialog box to open a file on your computer, without having to navigate through the back-stage view.
65. Open the Find & Replace dialog box

CTRL + H
This shortcut opens the Find and Replace dialog box, allowing you to quickly replace text throughout your presentation. Be careful when using the ‘Replace All’ option, as it not only will cycle through the Normal View of your presentation, but all your Slide Master Views.
66. Repeat the last find action

If you have closed the find dialogue box and now want to repeat the last find action, hit SHIFT + F4.
67. Capture a clipping of the screen as an image

To take a screen capture of the current screen to the clipboard, hit the PrtSc (Printscreen) key.
68. Capture the entire screen as an image

To copy the picture of a selected window, hit ALT + PrtSC (Printscreen).
69. Launch the Print dialog box

To launch the Print dialog box, hit CTRL + P. If you don’t need to adjust the settings, you can immediately hit ENTER to print your presentation.
The print shortcut works across the entire Microsoft Office suite (and most other software programs you use). So I HIGHLY recommend learning this one.
To learn how to print multiples slides on one page in PowerPoint, read our guide here.
Note: A common printing mistake you can avoid is printing your files collated and then manually uncollating the documents.
The reason this is a mistake is because Microsoft Office can automatically print your files uncollated, saving you from a bunch of tedious work.
To learn more about the difference between collated vs. uncollated printing, read our guide here.
70. Open the Header & Footer dialog box

ALT + SHIFT + D
This dialog box allows you to add and remove your date and time, slide numbers and footers.
PowerPoint Slide Number Pro Tip
To properly add your headers and footers to your slides, you need to add them in twice.
Once on your Slide Master and once in the Normal View using the Header and Footer dialog box. For help navigating your headers, footers and slide numbers like this, see our detailed blog post here.
71. Close an active presentation

CTRL + W
This PowerPoint shortcut closes the active file you are using, without closing the PowerPoint application itself. This is an operating system shortcut and works in all the Microsoft Office programs.
72. Close PowePoint

ALT + F4
This is a Windows-level operating-level shortcut and can be used with any program you are running on your computer. After closing out of all your active applications, this shortcut can shut down or restart your computer too.
To expand your knowledge and learn other important Windows 10 shortcuts, see our guide here.
Newer PowerPoint Shortcuts (2013, 2016, 2019 and Microsoft 365)
Use the following shortcuts for the given tasks in the new PowerPoint 2013 version. Note, these PowerPoint 2013 shortcuts all work in PowerPoint 2016 as well.
73. Increase / decrease the font size
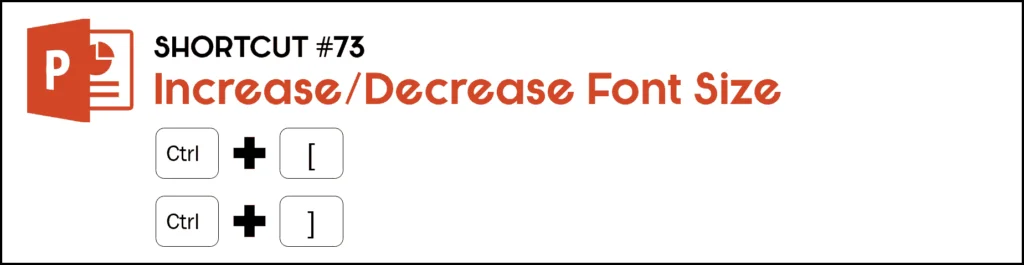
Hit CTRL + ] to increase the font size
Hit CTRL + [ to decrease the font size
PowerPoint Tip
Although these are new shortcuts, the old font size shortcuts still work: CTRL + SHIFT + , to decrease the font size and CTRL + SHIFT + . to increase the font size. However, because the shortcuts above work in a wider variety of programs, I recommend memorizing them instead.
74. Show / hide the Notes pane
 If you want to show or hide the Notes pane in your presentation, simply hit
CTRL + SHIFT + H
.
If you want to show or hide the Notes pane in your presentation, simply hit
CTRL + SHIFT + H
.
75. Duplicate an active presentation

To make a copy of your current open presentation in PowerPoint 2013, you need to hit CTRL + SHIFT + N.
76. Add a section to your presentation

To add a new section in your presentation, hit CTRL + , (comma).
77. Zoom out of a slide in Slideshow View

To zoom out of a slide or to see all slides in Slideshow View, simply hit CTRL + – (minus). Once zoomed out, you can use your Arrow keys to navigate around.
78. Zoom into a slide in Slideshow View

To zoom into a slide in Slideshow View, simply hit CTRL + = (equal). Once zoomed in, you can use your Arrow keys to navigate around.
79. Hide the Ribbon

CTRL + F1
Hitting Ctrl + F1 once collapses your Ribbon commands into the top of your screen, giving you more uncluttered workspace in PowerPoint. Hitting CTRL + F1 a second time un-collapses your Ribbon commands.
This is Microsoft Office shortcut, so it works in PowerPoint, Word, Excel, Outlook, etc.
80. “Distraction-Free Mode” – Auto-hiding the Ribon

CTRL + SHIFT + F1
The NEWEST shortcut to hit the Microsoft Office suite delivering Distraction-Free Mode. Hit this keyboard shortcut to auto-hide your Ribbon commands, giving you a 100% clean working space. When you want to see all your Ribbon commands again, just hit this shortcut a second time.
Other Important PowerPoint Shortcuts
While the following shortcuts didn’t make our top 80 favorite PowerPoint shortcuts list, these shortcuts are still extremely value to know (and use).
We consider these MANDATORY shortcuts for any knowledge worker because you they work across the entire Microsoft Office suite (and just about every software program you will ever use).
Copy shortcut
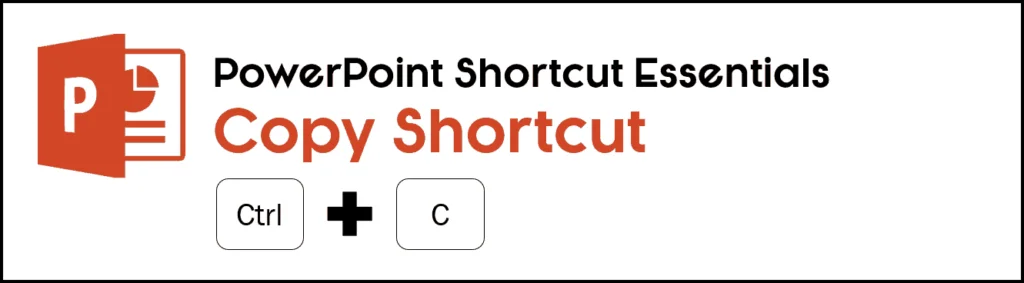
CTRL + C
Selecting an option (or group of objects) in PowerPoint and hitting Ctrl + C will copy them, allowing you to reuse them in other parts of your presentation.
This is MUCH faster than trying to recreate and format objects in PowerPoint.
To expand your knowledge and learn all about the Copy shortcut, and how it is different than the Cut shortcut, read our guide here.
Paste shortcut

CTRL + V
After you copy an object in PowerPoint, you can then use the Ctrl + V shortcut to paste the object on your slides.
Remember, your goal in PowerPoint is to finish your slide deck, not remake everything from scratch. So, to the extent that you can Copy and Paste objects, slides, and formatting… the more time you will save and the better off you will be.
To expand your knowledge and learn more about the Paste shortcut, and how to use it to control your formatting as you paste into new Microsoft Office documents, read our guide here.
Cut Shortcut

CTRL + X
The cut shortcut allows you to pick up (and move) an object.
This is a variation of the Copy Shortcut as instead of copying an object, you cut it out of your presentation that you can then Ctrl + V to paste somewhere else.
To expand your knowledge and learn more about the Cut shortcut (and how to use it), read our guide here.
Note: If you are trying to delete a table from your presentation, it is often easier to Cut the table out using this Ctrl + X shortcut (and never paste it in anywhere) rather than trying to select the table and delete it.
PowerPoint Shortcuts Conclusion
So that is our list of our 80 favorite PowerPoint shortcuts to speed up your workflow.
Shortcuts are the fastest way to DOUBLE your productivity in PowerPoint. That’s why if you use PowerPoint daily, I highly recommend committing to your keyboard shortcuts.
If you enjoyed this in-depth post and want to learn more about our PowerPoint Speed Training courses and other resources, visit us here.
What’s next?
About the Author

Taylor Croonquist
Co-Founder, Nuts & Bolts Speed Training
Taylor Croonquist is a PowerPoint expert and trainer. Over a career spanning the globe, from consulting in New York and investment banking in China, Taylor has truly seen it all in PowerPoint. Through necessity and a natural tech savvy, Taylor honed his PowerPoint skills to the point of even blowing the minds of the Microsoft PowerPoint programming team. When he's not busy crafting PowerPoint training, you can find him reading a sci-fi series or scuba diving.