Templates in PowerPoint can be finicky and tricky. Here are solutions and warnings about common tricky things you may be trying to do in your templates.
Template Tip: If you are building a PowerPoint template from scratch, you can save yourself a TON of time by first buying a professional template online, and then tweaking it to meet your needs.
To see the 4 best places I recommend finding professional PowerPoint templates (and why I like them), read my template guide here.
How to make titles All Caps by default
If your template design calls for titles to be in All Caps, it’s very likely that for every single slide, what you do is select the title and go into the font formatting manually to make it All Caps. Or perhaps you simply hit the CapsLock on your computer as you type in the title. This is an incredibly inefficient and error-prone method!
The way to do this properly is to make your titles All Caps by default. Here’s how.
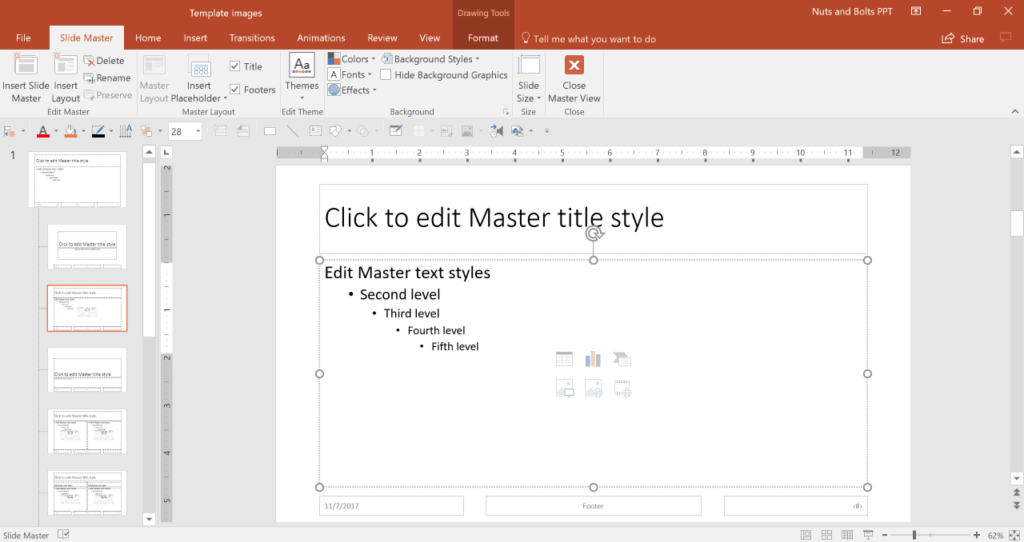
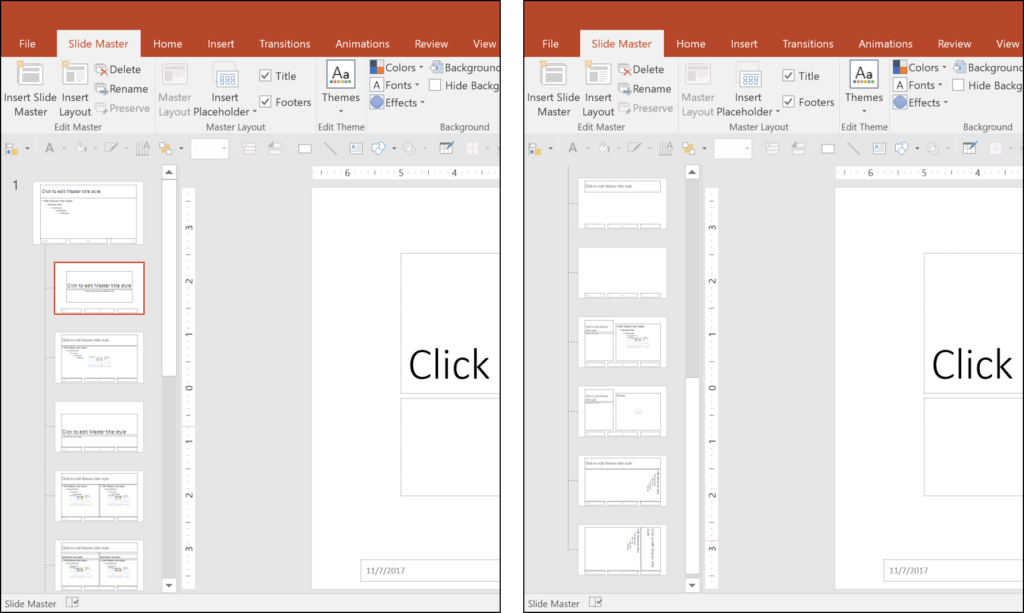
Go into the Slide Master, and find the slide where you want the capitalized titles to appear (if it’s to appear on every slide, go to the Parent Slide, but if it’s to appear only on a specific type of slide, then go to that layout).
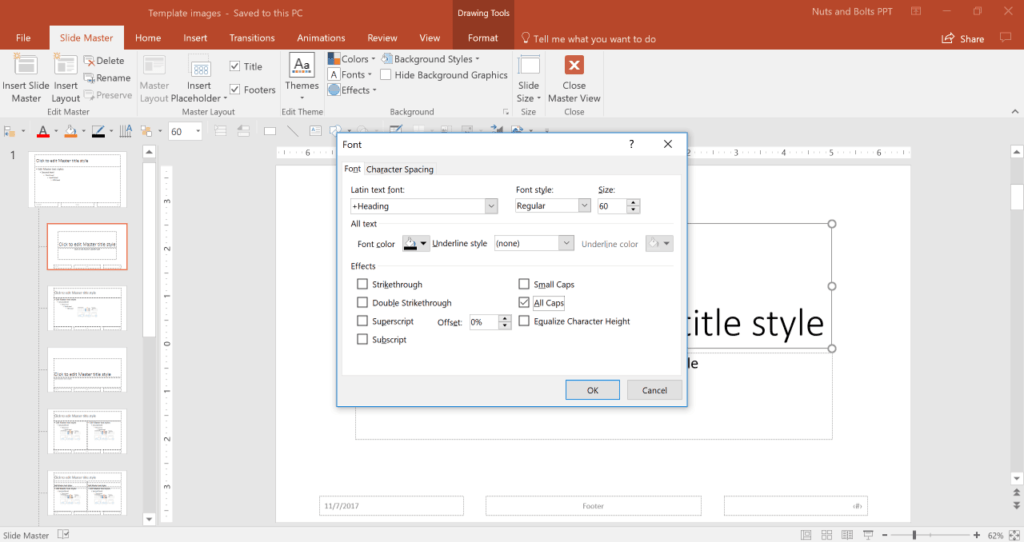
On that slide, select the title placeholder and open up the Font dialog box by hitting (Ctrl + Shift + F, or Ctrl + T) or by going to Home and clicking the little arrow in the bottom right-hand corner of the font area.
In the font dialog box, simply tick the ‘All Caps’ box, and then close out of everything. If you go back to the Normal View, you’ll see that when you type into that placeholder, the text is automatically made All Caps.
To learn other cool PowerPoint shortcuts like this, check out our guide covering the top 25 PowerPoint shortcuts.
How to make titles All Caps by default
If your template design calls for titles to be in All Caps, it’s highly likely that for every single slide, what you do is select the title and go into the font formatting manually to make it All Caps. Or you simply hit the CapsLock on your computer as you type in the title. This is an incredibly inefficient and error-prone method!
The way to do this properly is to make your titles All Caps by default. Here’s how.
Go into the Slide Master and find the slide where you want the capitalized titles to appear (if it’s to appear on every slide, go to the Parent Slide, but if it’s to appear only on a specific type of slide, then go to that layout).
On that slide, select the title placeholder and open the Font dialog box by hitting (Ctrl + Shift + F, or Ctrl + T) or by going to Home and clicking the little arrow in the bottom right-hand corner of the font area.
In the font dialog box, simply tick the ‘All Caps’ box, and then close out of everything. If you go back to the Normal View, you’ll see that when you type into that placeholder, the text is automatically made All Caps.
Note: If you don’t want an individual title (or part of a title) to be in All Caps, in the Normal View, you can select that text, open the Font dialog box, and untick the ‘All Caps’ box.
A warning about bullet points in your template
In many cases, it may be that your template doesn’t call for bullet points (or for just 2 levels, rather than the default 5).
However, it’s important to note that bullet points should always be left in place in a template.
Why?
Because if someone pastes in a slide into your presentation and the bullet lists have not been defined, the resulting formatting will be a complete mess and you’ll have to readjust everything manually.
Having the defined bulleted lists in your Slide Master doesn’t take up any extra room, nor does it prevent a user of the template to create a long and nested list of bullet points.
So my recommendation is to always format elements the way you’d like to have them look, even if you don’t want someone to use those elements. Otherwise, you leave the user 100% to her own devices.
How to have a text placeholder start without a bullet point but then have bullet points for all sub-levels
Yes, it’s possible to do this! And the trick is incredibly simple (though unintuitive).
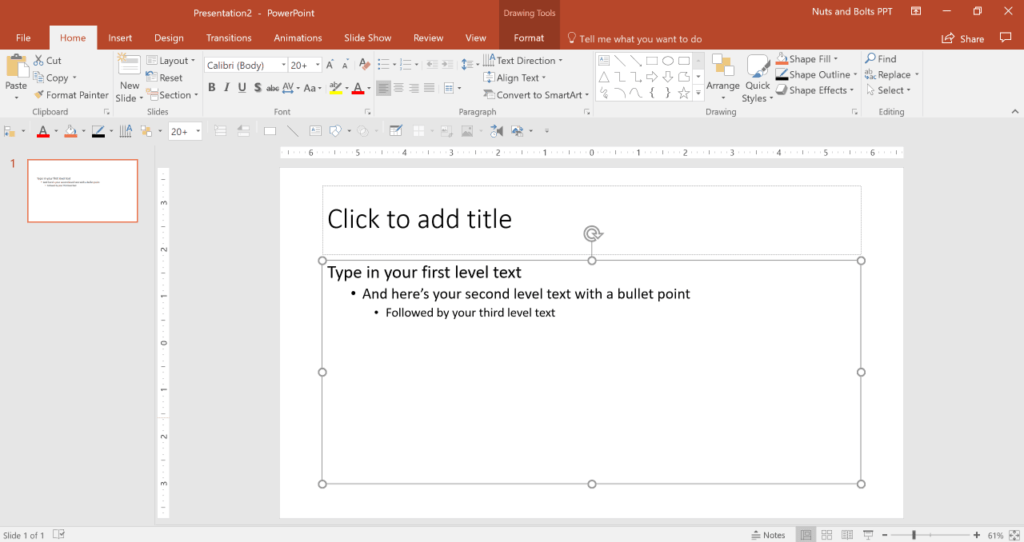
If you want to start a placeholder without a bullet point but have bullet points pop up for the sub-levels, you need to first remove the bullet from the top level text in your Slide Master. You can do so by either hitting Backspace before the first letter of text, or by selecting the Bullets command in the Home tab, under Paragraph.
Then, back in the Normal View, simply type in your first line of text and then hit Enter.
Now using the Tab key here won’t work. What you want to do is go up to the Home tab and under Paragraph, click on the ‘Increase List Level’ command.
That will bring up the level 2 bullet point, formatted exactly the way you set it on the Slide Master. Then, you can hit Enter and Tab to go to the next line and the third level.
A warning about deleting layouts in the Slide Master
While it may be very tempting to delete some of the layouts in your Slide Master, it can lead to some funky issues that you should know about.
1. Here are the layouts that come with a default PowerPoint template:
There are 11 layouts that come standard as part of a default PowerPoint Slide Master. Some of those layouts rarely get used.
For example, most users don’t ever need the last two child layouts in the Slide Master: the ‘Title and Vertical Text Layout’ and the ‘Vertical Title and Text Layout.’
You may also find that child layouts 5, 8 and 9 rarely get used. So when should you delete them or not? Well it’s important to know what happens when you do delete a layout.
2. What happens when you delete a child layout?
When you copy/paste a slide from one presentation into another in PowerPoint, what the software tries to do is paste it in on the same layout.
But if that layout doesn’t exist in your presentation, PowerPoint doesn’t know what to do.
Note: To learn how to create a PowerPoint template from scratch, read my guide here.
A warning about renaming your child layouts
Another thing that gets funky with templates is renaming child layouts. Just like with deleting them, if you rename them, PowerPoint doesn’t necessarily know which layout is which.
Funky issues with disappearing slide numbers
This is a common issue that can stump even the most experienced PowerPoint user. There are a few key finnicky things to know when dealing with slide numbers that you can learn about here.
Note: To see how to rename a child layout in PowerPoint, watch our how to video here.
Conclusion
So those are some tips and tricks for working with your PowerPoint templates.
PowerPoint templates are one of the most underappreciated and most misunderstood aspects of PowerPoint. It’s also why most people’s PowerPoint decks are hard to work with.
So, kudos to you for investing the time to figure them out.
If you want to learn other ways you can boost your PowerPoint stills, visit us here.