A really cool way to engage an audience is using live polls in your PowerPoint presentations.
What’s great about this is if you ask the audience a question, instead of having them shout out their answers or writing their responses on a flip chart, you can have them respond on their mobile devices so you can see the results appear in real time on the slide. This can work with all types of questions – from multiple choice, to free response, to (my favorite) word clouds.
Watch the video below or scroll down the page to see how to get started with live polling in PowerPoint today.
Options for creating polls in PowerPoint
Back when I was in college, live polling was still in its early stages. Just one of my professors was using Student Response Systems, or what we called “clickers,” in the classroom. These are like a set of small remote controls that you point at the screen, and the results come up real time.

These systems work well, but they can be expensive, and it’s a bit of a pain if students have to carry them around themselves (it’s easier if a teacher has a set that gets distributed/collected in each class).
These are still around today, and the advantage with using them is if you’re teaching in a classroom where phones aren’t accessible (or prohibited), for example, these are great to just quickly pass out, use, and then collect after the session. Very easy. It’s also a good option if you don’t have an internet connection.
However, my favorite type of polling technology is any kind that lets your audience vote on their own mobile device – computers, tablets, phones (through both texting and web) – anything.
There are many brands of such polling software out there (and a new one seems to come out each day), but for this tutorial, I’ll show you my current favorite, which is called Poll Everywhere. While the tool can be used for polls through a webpage, what’s really cool is that it comes as a PPT add-in as well.
The service has a nice free version that you can use to experiment, and many types of paid versions as well that give you lots more features, such as more responses being captured, greater customization and more moderator control over the responses.
[Watch] How to Create a Poll in PowerPoint
You are currently viewing a placeholder content from Youtube. To access the actual content, click the button below. Please note that doing so will share data with third-party providers.
More InformationFor this tutorial, I’ll use the free version so that anyone can get the same results, and you can always upgrade to explore the other options.
Step 1: Set up your PollEverywhere account
To get started, the first thing you need to do is make an account with them, so just go the Poll Everywhere website and go to Sign Up in the top right corner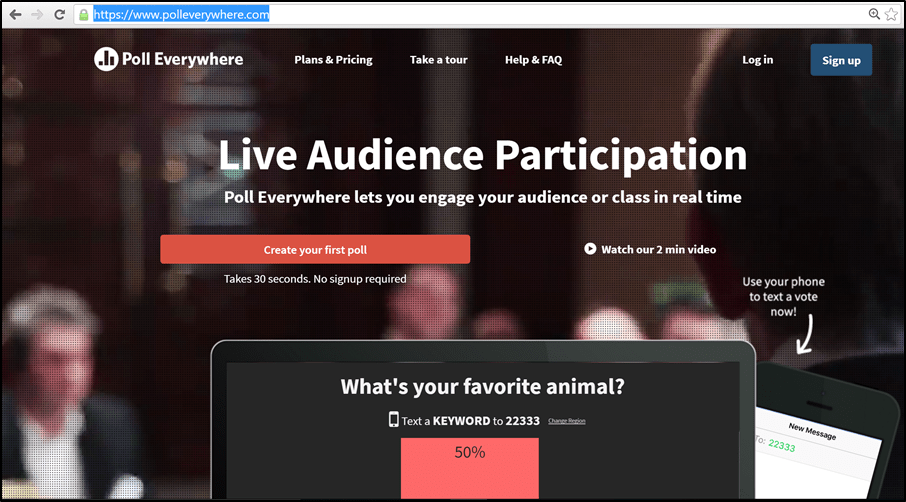
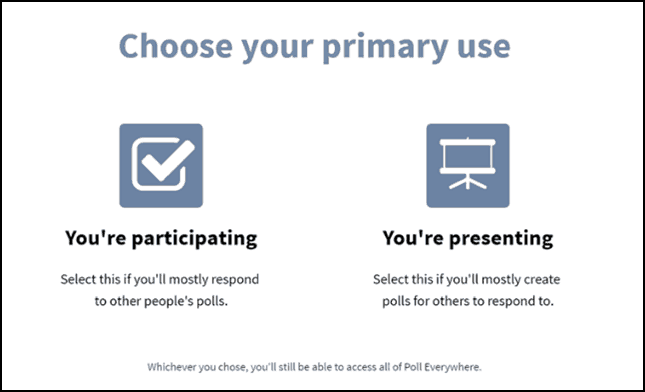
Then, click on “You’re Presenting” (actually don’t know if it makes a difference which one you choose) to be taken to the sign-up form. Just fill in your info, and you’ll get a confirmation email that you just click on – and you’re all set!
After this step, you can actually use the polling feature right away from the web or from a mobile device, but it looks especially cool when used in PowerPoint itself, with the use of an add-in.
Step 2: Install the add-in in PowerPoint
To get this add-in you can go directly to PowerPoint. One very important note is that if you’re going to be using another computer for the presentation other than your own – you’ll need to install the add-in on that computer as well so you’ll have it when you present.
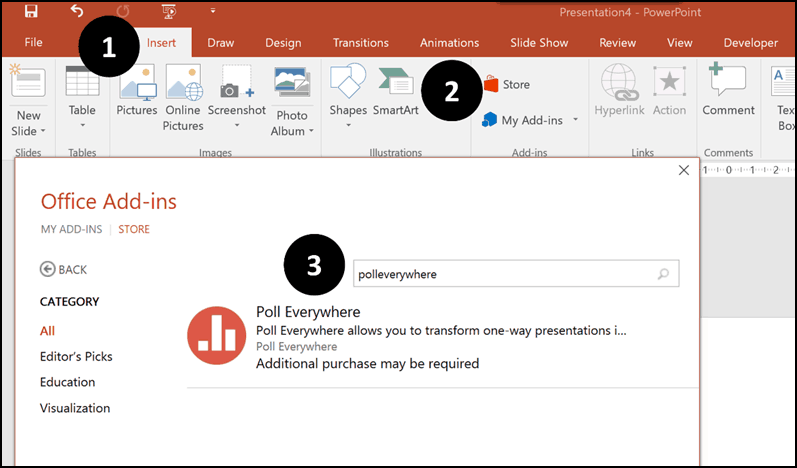
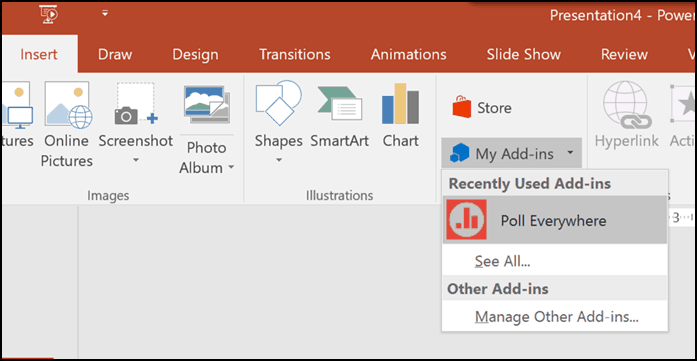
I currently have PowerPoint 2016 or PowerPoint 365. So the way to do this from here is to just go to the Insert Tab, then go to Store, and then type in Poll Everywhere to get the add-in.
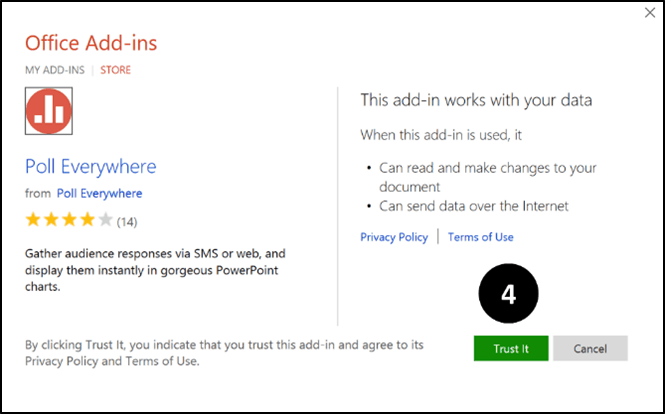
You’ll also need to hit “Trust” when that option pops up.
For earlier versions – this works in 2013, 2010, and 2007, easiest way to download is you can just go to the website and do it from there – their website actually has really clear, detailed instructions on installing Poll Everywhere in all versions if you have additional questions. Once you get the application loaded, just click on it to launch. It will then appear on your ribbon on your PowerPoint.
Step 3: Create your poll
Once you have it installed in whatever version you’re using, just go ahead and open it up. In my case, I’ll go to the Insert menu, then My Add-ins, then choose the Poll Everywhere option.
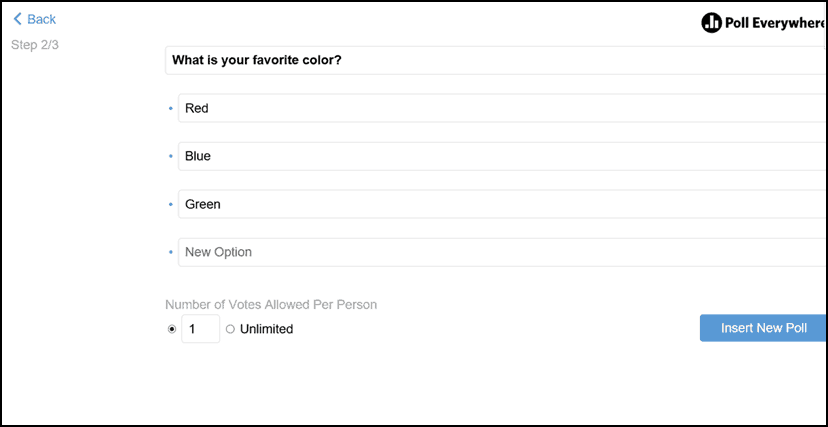
You should see a menu like this – and you can choose from whatever type of poll you want. So let’s choose the multiple choice poll to use as the example.

If you’re logging in for the first time, the next screen you should see is a log-in screen, so just enter your info there. After you log in, you’ll see the following screen – a pre-made poll.
Step 4: Resize and fit the poll on your slide
You’re done with the set-up! Let’s just resize it now to fit the screen by just clicking and dragging to fit the slide (for some reason, these polls always start off huge!). Now we can hit “insert new poll” at the bottom right to convert these choices into poll format.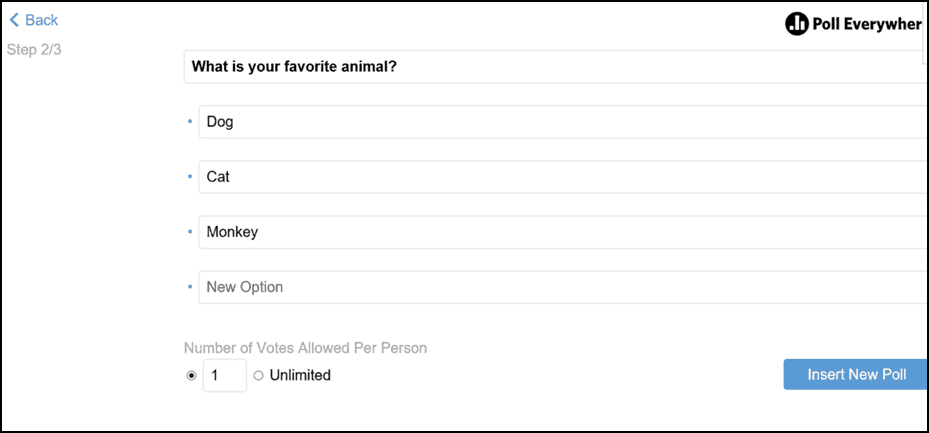
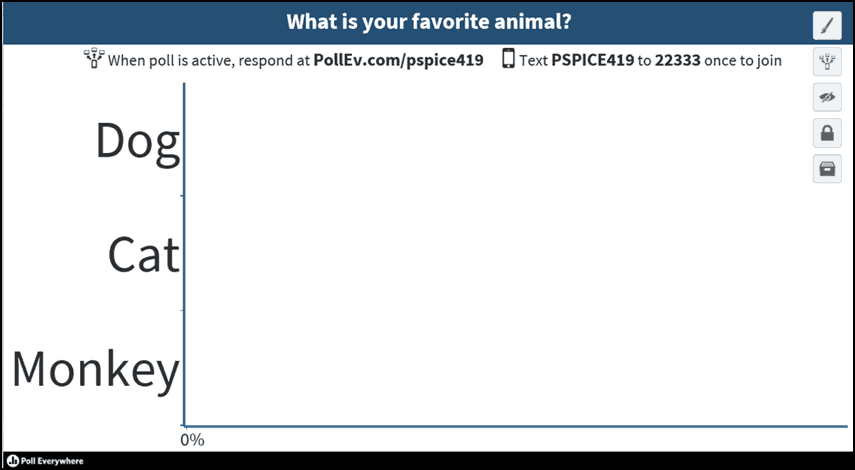
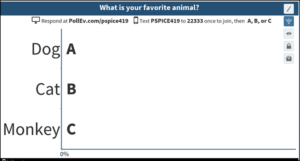
Here’s what you get after you insert the poll. At the top, you can see the options for how to respond, using your personal response code. Mine is P-Spice419 – it’s actually the first and last name I put in when registering, plus some numbers.
Be strategic about what information you put in when registering. The first time I signed up for the service, for example, I just put “testing testing” for the first and last name, and then that was in the response code, which didn’t look very good—so I had to sign up for a new account. Use something related to your actual name or business so it looks personalized.
As you can see at the top, you can respond via text on any phone using the response code or through the web on any mobile device.
You’re basically done! Now if you want to change any visual settings (like size of title, font style, etc.), click on the paintbrush icon at the top right of the poll – you’ll get a variety of options.
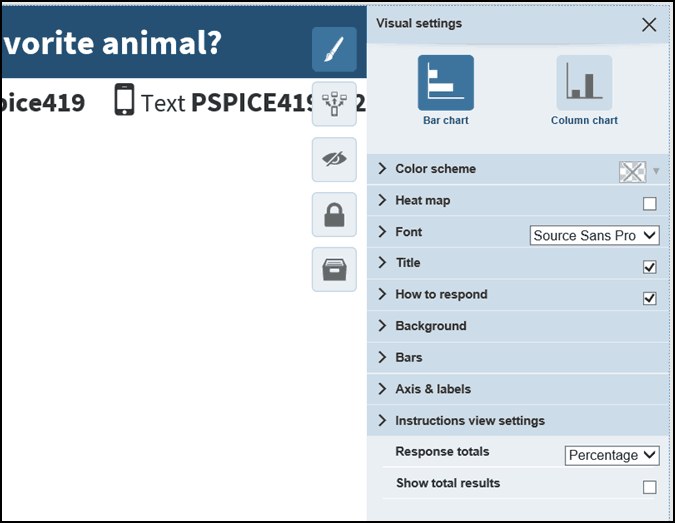
Remember though, that just because an option exists, doesn’t mean it’s necessarily smart to use. For example, there is an option there to add a logo to the background – but in my opinion, that just clutters your graph and takes away from the visual impact. Play round with these and choose some settings that work best for your project.
Step 5: Activate your poll
Once you’re ready to actually open the poll, click on the icon second from the top, and you’ll see your poll activate. You’ll have actual choices for what to select when using the texting option (a, b, c).
Ok so here’s the fun part – let’s see this in action. If you follow the steps I outline above, go ahead and try to vote on your poll on your computer and phone (note that text messaging rates do apply, and check out the guidelines by country on the Poll Everywhere site).
As you’ll see, it’s a very simple and user-friendly interface, and you’ll see your results instantly on your screen (ask a friend to vote with you so you can see multiple results at once!).

Note: You do need a live internet connection on the computer from which you’re projecting (and you need to have PollEverywhere installed on that computer too).
If you don’t have an internet connection for some reason, you can still use your smartphone to see the results on the web real time and announce the results to your audience.
But as we’ve seen, it is pretty powerful to actually see the results real time on the slide.
So try to see if you can work a tool like this into your next presentation – since so few people are using polling technology (at least at the time I’m writing this), if you use it, you will definitely increase engagement and stand out big time as a presenter.