Because PowerPoint templates can be tricky to get right, I’ve pulled together my top 10 PowerPoint template tips and tricks to help you out.
As you will see, there are a lot of little details you need to get right that most people overlook or ignore. That’s why most of the templates you’ll encounter are difficult to work with.
Instead of helping you save time, they are instead full of formatting landmines that waste your time.
Time Saving Tip: If you are building a template, you can save yourself a TON of time by first buying a professional template online, and then tweaking it to meet your needs.
To see the 4 best places I recommend finding professional PowerPoint templates (and why I like them), read my template guide here.
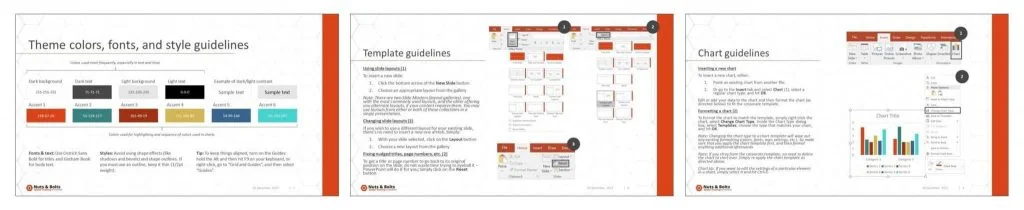
PowerPoint Template Tips and Tricks
If you want to learn how to create a PowerPoint template from scratch (step-by-step), read my guide here .Save your template as a .POTX file
This is the first tip because NOT a lot of people know this, even sellers of templates themselves!
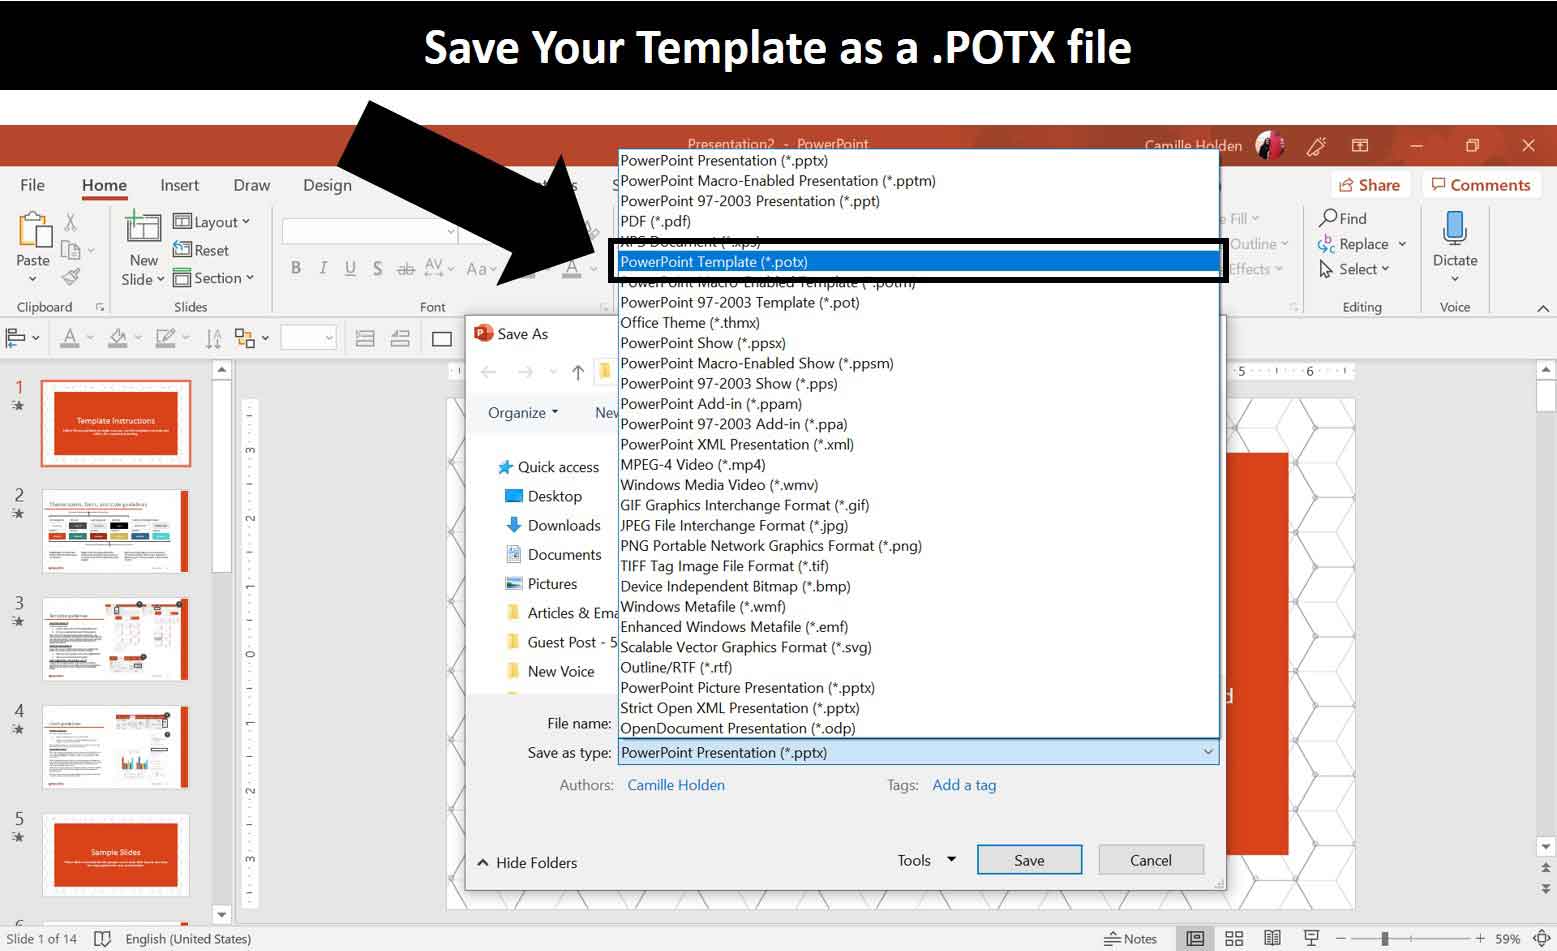
A PowerPoint template is only a template if it’s saved as a “.potx” file.
Otherwise, it is a fake template. To learn how to recognize if your template is fake or not, see our guide here.
A real PowerPoint template is a blueprint that sets the basic framework for the slide you build. That way people can easily use it to build a professional looking presentation.
That’s why if you are building a template, you need to save it in the proper .POTX format. That way, when someone opens the file ti starts a blank presentation with all of your customized layouts and formats.
To save a PowerPoint presentation in the .POTX format, simply:
- Hit F12 for Save As
- For Save As Type, select PowerPoint template
- Choose a Location to save your Template
- Give your template a meaningful File name
- Click Save
Add guides around placeholders in the Slide Master to maintain consistency
When creating a template in PowerPoint, add guides around your placeholders on the parent slide layout.
Below is an image of how this might look in the Slide Master view of your presentation.
That way if you (or your team members) aren’t sure where things are supposed to be, they can simply turn on the Guides.
To turn your Guides on in the Normal view in PowerPoint, simply:
- Navigate to the View tab
- Select Guides
If your Guides are well placed, everyone will know where things are supposed to be laid out. That saves you from having misaligned content between your slides.
Include the PowerPoint theme files
A PowerPoint template is more than a blueprint or layout, it also includes a Theme.
A PowerPoint Theme is composed of the fonts, colors, effects, etc. and influences the look and feel of your PowerPoint template.
If you don’t properly set your theme up, you won’t be able to control the look and feel of your presentation.
To learn more about how to setup your PowerPoint theme, see our guide here.
Note: While it is not necessary to send the font and color files along with your template, it is a best practice because it ensures that when the end user opens the template, your custom formatting settings are available.
Add specialized placeholders where needed
If you build a slide layout specifically for a photo or video, add a placeholder to specifically match that type of content.
Doing this will make your slides easier to fill in and manipulate.
For example, a Picture Placeholder will automatically crop and resize itself better than the regular multi-content placeholder.
To learn how to crop pictures in PowerPoint (outside of these content placeholders), read our guide here.
Edit the prompt text to help instruct the users on how to use your template
One of the best ways to help your template user is to give them clear directions.
Did you know that you can edit your prompt texts for your placeholders? Yes, you can type anything you in there.
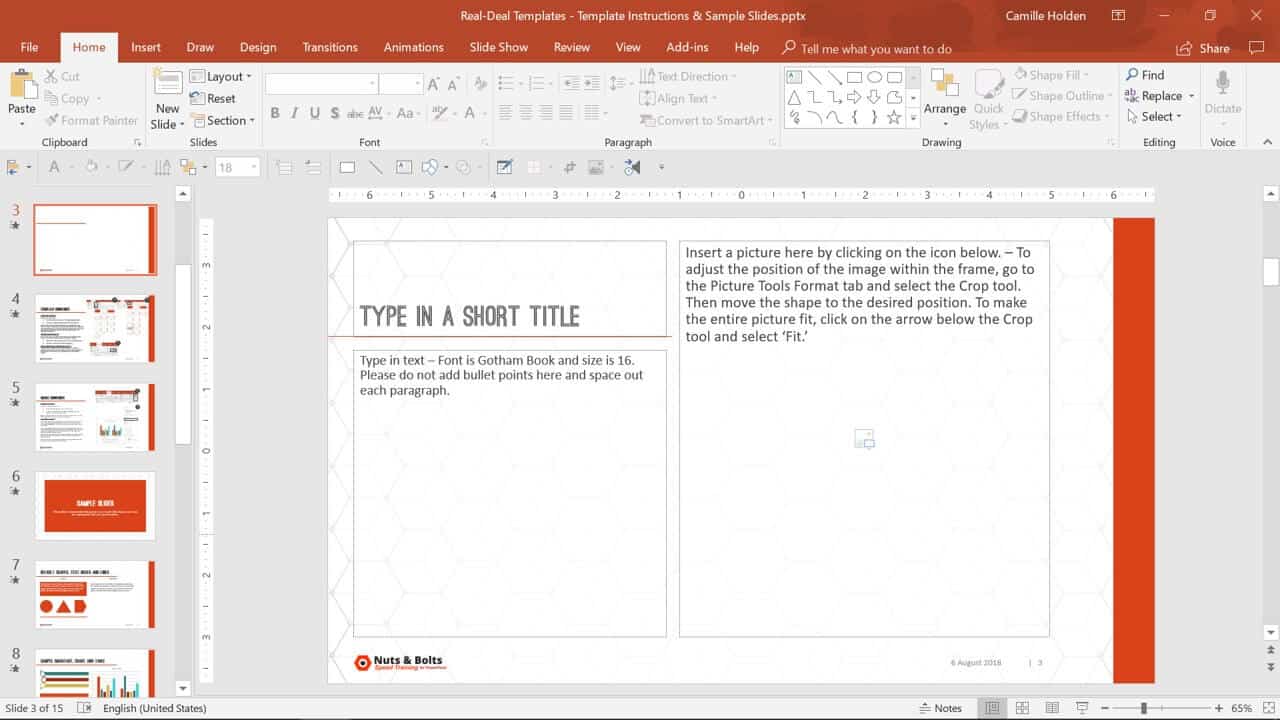
Two suggestions for things to add in your prompt text:
- Formatting instructions
- Types of situations the slide should be used in
Adding this level of detail helps your user know how to properly use your slide layouts. This decrease the chance that they will misuse the slide layout.
Do not remove the bullet points from the text placeholders
While it is extremely tempting to remove bullet points from text placeholders so that your users are not tempted to use them, this is actually a little landmine for you down the road.
Let’s say that despite your clear instructions, someone types text into the placeholder and then decides to add bullet points. Now you have bullet points that don’t match your template’s formatting.
This is why I recommended formatting all the elements someone might use, and then providing instructions to not use those elements.
It’s not foolproof and it might sound counterintuitive but it is important to make sure that the bullet points being used are consistent across the entire presentation
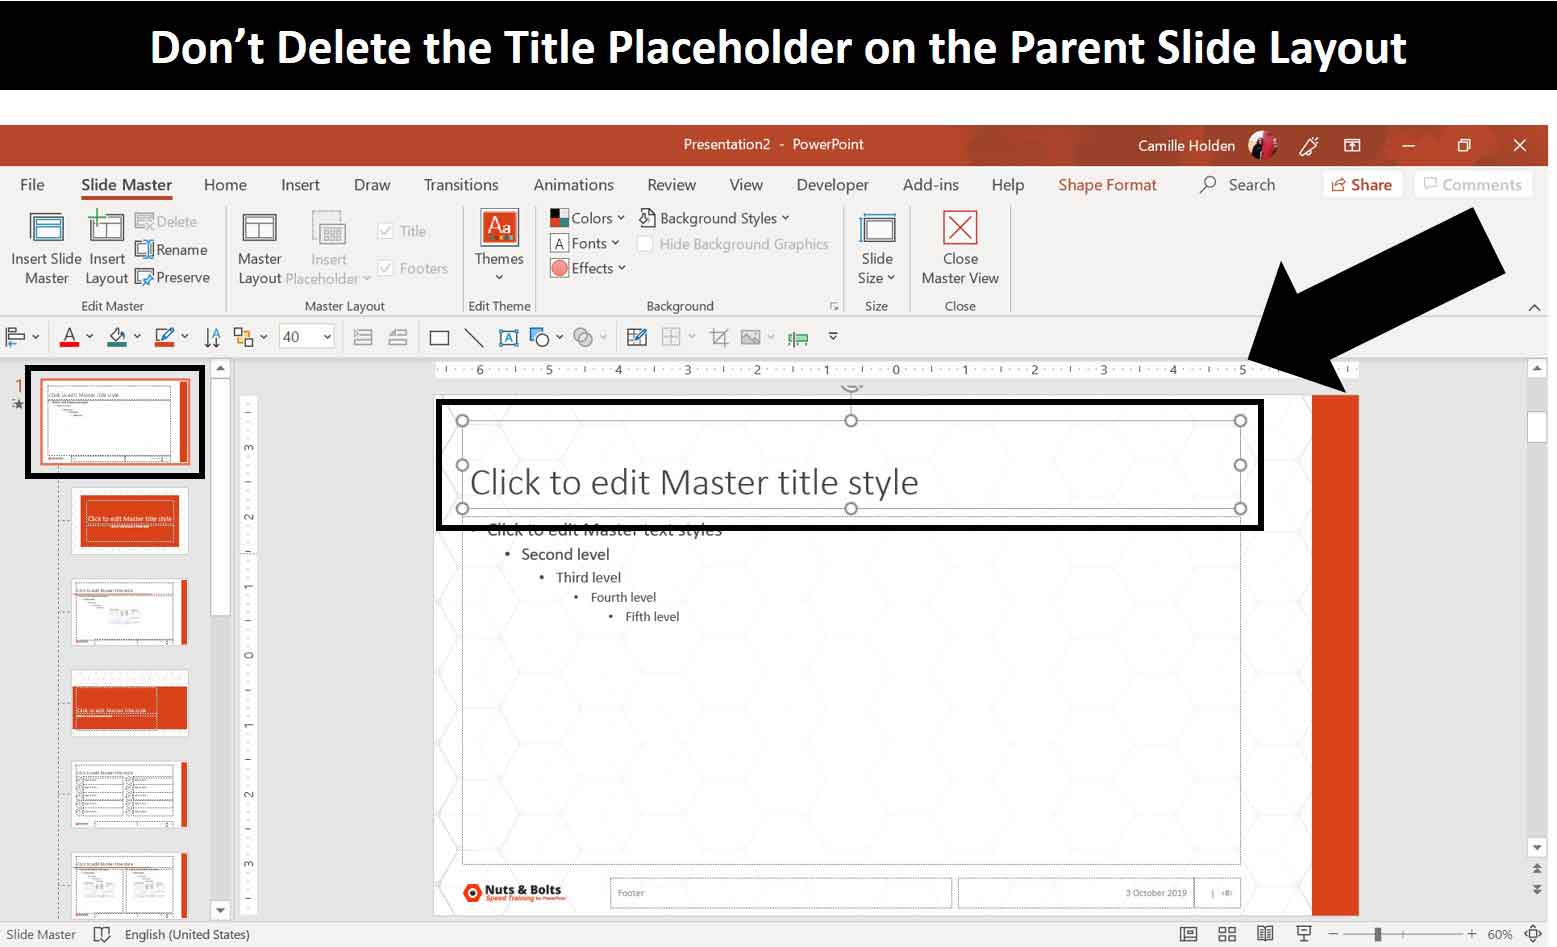
Do not delete the title placeholder
This is another common mistake many PowerPoint designers make.
When you build a template, you may decide that you want your slides to look totally different from what PowerPoint gives so you may be tempted to delete the title placeholder. This is not recommended.
Why? Because this will likely create issues when you’re copy-pasting slides to and from presentations that are based on your template.
And when you go and reset your layout, you end up having to reset your entire Slide Master!
Do not embed PowerPoint fonts
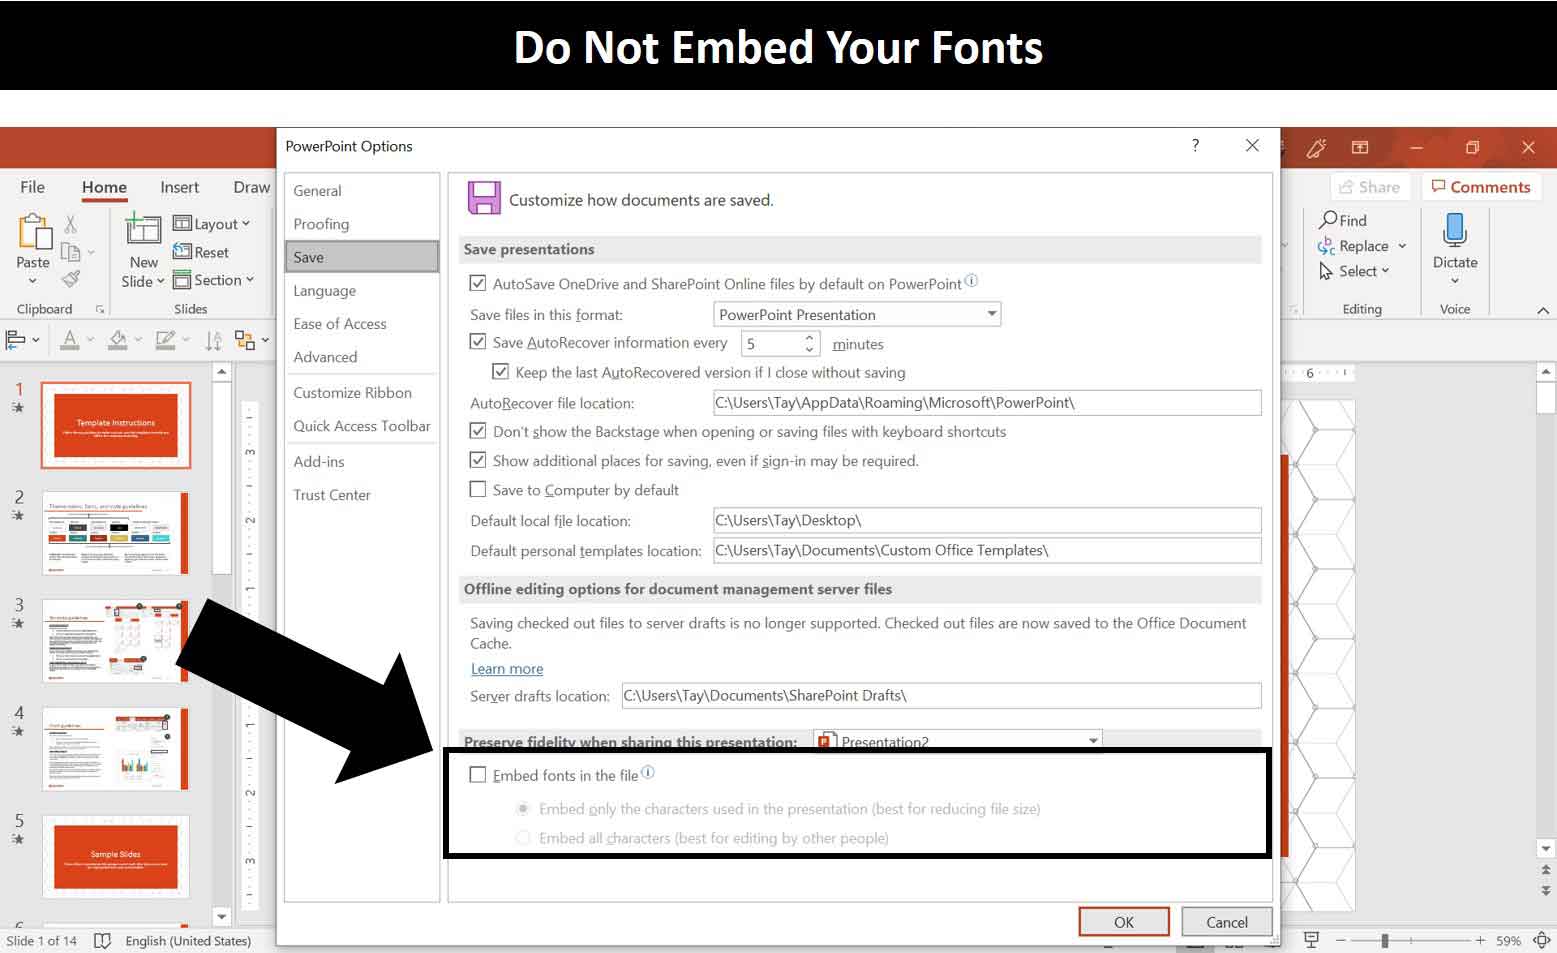
Using custom fonts can be a great way to add personality and style to a presentation. However, if you use a custom font, you want to make sure it displays on every computer that will be opening that presentation.
One way to do this is to embed the font into the presentation. But don’t do it!
This is a terrible idea because it almost never works and there’s more likely to lead to serious problems down the road. All PowerPoint experts will say to not embed fonts.
If you want to use custom fonts and have them display properly in your slides, can save your presentation in the PDF file format. For help with this, see our article here.
Otherwise you’ll need to install your custom fonts on every computer that will be opening your specific presentation.
If you find that your custom fonts aren’t properly displaying, you can quickly replace all your fonts using the Replace Fonts commands. To see how to do this, read our article here.
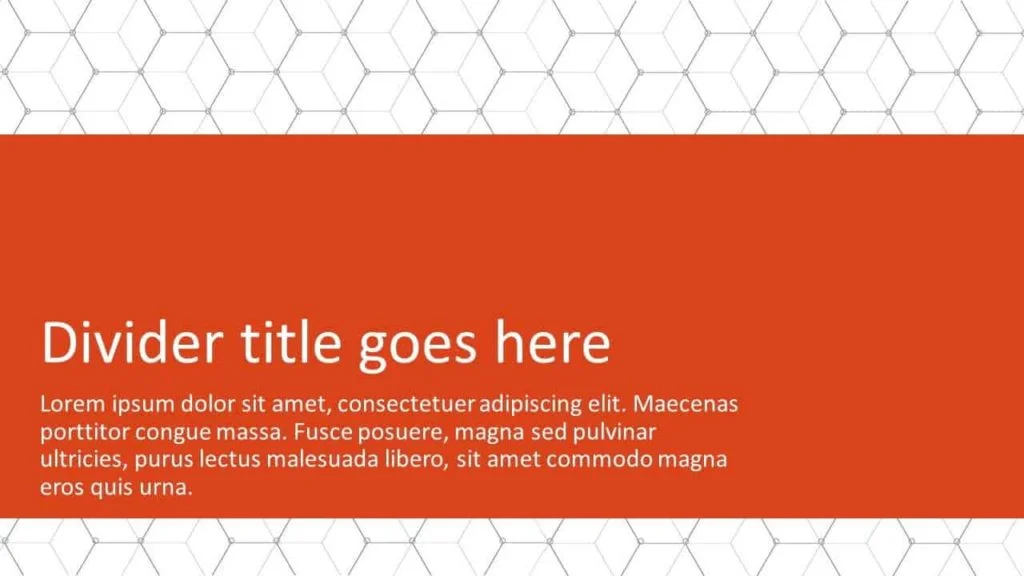
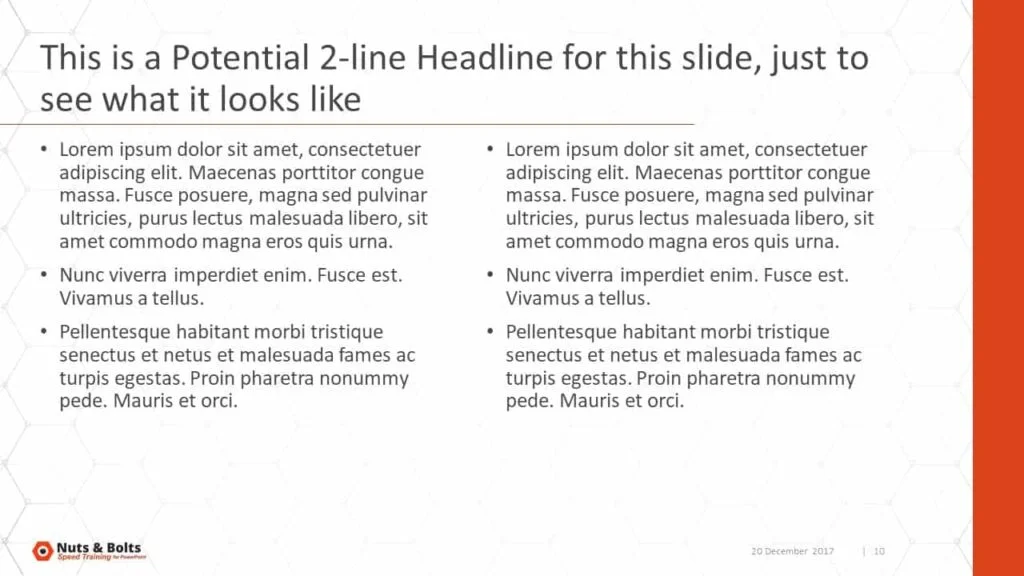
Add user instructions and sample slides to your templates
Most tools come with a manual or some kind of set of instructions. Your template should be no different.
You should never assume that end user knows how to use it. In fact, you should assume that your end users will have no idea how the template works and what you designed it to do.
So make sure to always include user instructions and sample slides and to make it as detailed and clear as possible.
In fact, some great designers even go so far as to create a short video tutorial or webinar to walk their users through their template.
Here’s an example of user instructions and sample slides:

Make sure you envision the type of content your users will be creating, the roadblocks they will encounter and the mistakes they are likely to make – that way, you help them avoid them.
Do not delete layouts in the Slide Master
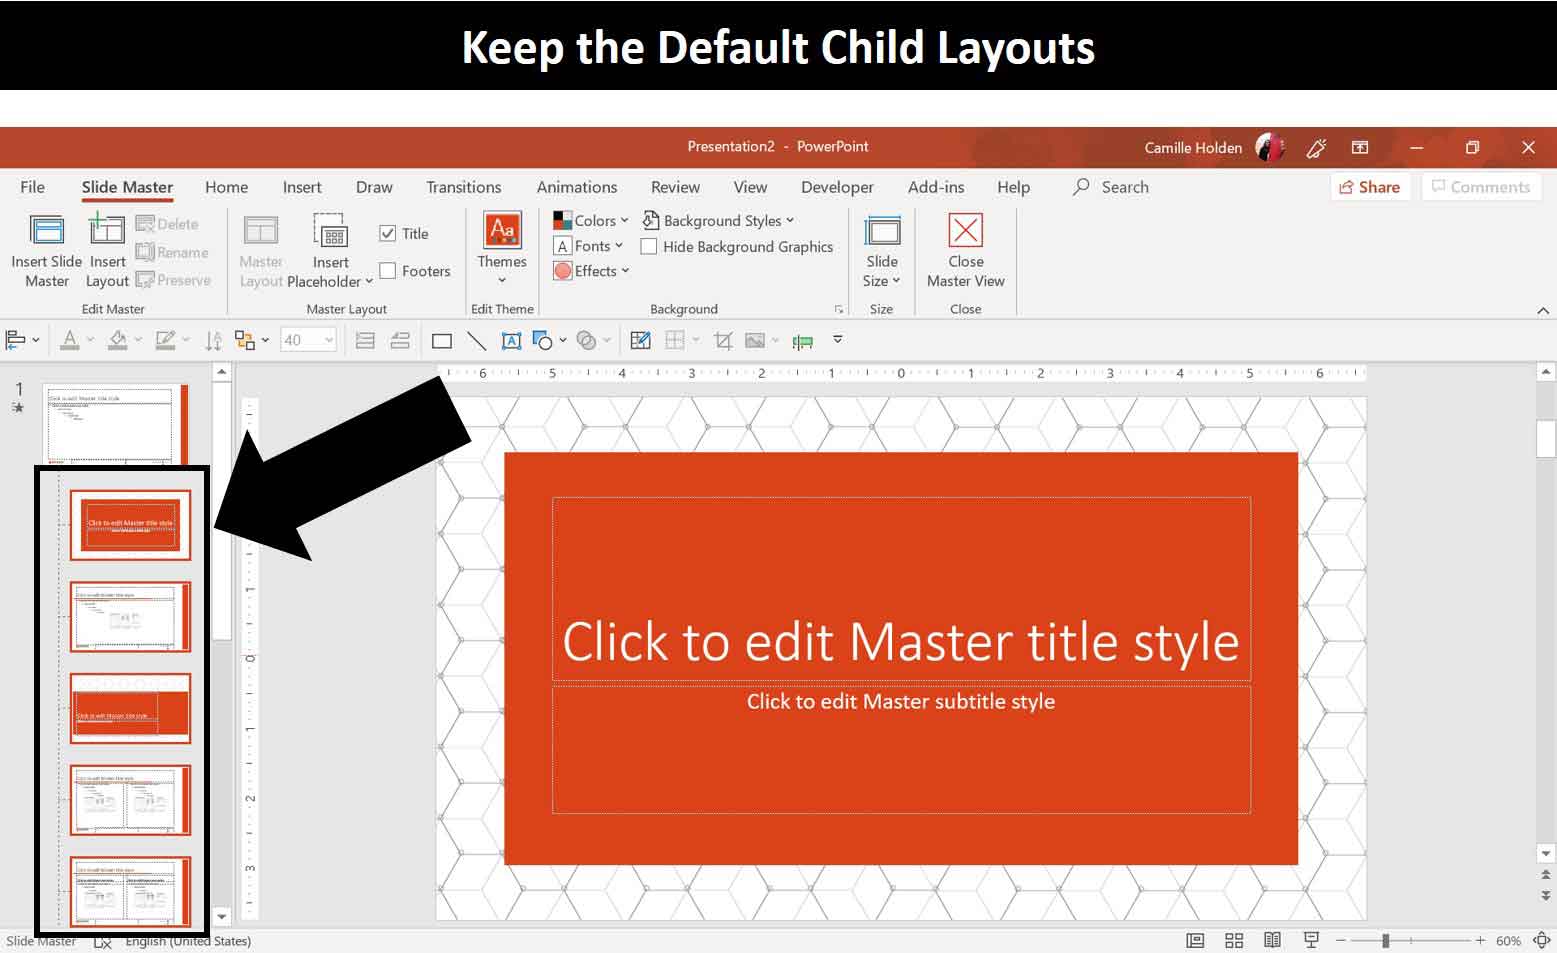
This is my most important PowerPoint template tip and trick. That’s because it’s a mistake that even the most advanced users commonly make.
If you don’t like the default slides PowerPoint gives you, you may be tempted to delete the slides you won’t be using.
But chances are that you’re using your template with a bunch of other people and you’re likely going to be copying and pasting slides from other presentations into this one…right?
Well what happens if a layout gets deleted from the Slide Master and you paste in slides from other presentation?
In shortcut, PowerPoint gets confused and doesn’t know what to do. This is how you can end up with a clogged Slide Master that could have hundreds of orphaned child layouts from other presentations.
In PowerPoint 2016 (the Office 365 subscription), PowerPoint is better at recognizing and removing duplicate child layouts. But it’s still not fool-proof.
Conclusion
So those are my top 10 PowerPoint template tips and tricks to make sure that the templates you build work the way you expect them to.
Most of these have been done even by the expert creators or designers, so surely beginners make the same mistakes. Keep these in mind and you’ll be creating templates that are easier to use and are less riddled with landmines.
If you enjoyed this PowerPoint tutorial and want to learn more about our training courses and other free tutorials and resources, visit us here.
About the Author

Camille Holden
Co-Founder, Nuts & Bolts Speed Training
Camille Holden is a PowerPoint expert, a trainer and a presentation designer. After years working in the trenches, fine-tuning hundreds of her colleagues' last minute panic-attack presentations, Camille cultivated her PowerPoint skills through tricks, work-arounds, and fine-tuned techniques for getting more done. When she's not helping clients build gorgeous and functional presentations, you can find her singing jazz or doing yoga.